in the frame
The 10 Commandments - Capturing Street Photography.
Street photography is a unique and exciting genre that allows us to capture candid moments that showcase the essence of everyday life. Whether you're a seasoned street photographer or just starting out, these would be the 10 tips that I would share with a younger me starting out in this compelling genre of photography.

Street photography is a unique and exciting genre that allows us to capture candid moments that showcase the essence of everyday life. Whether you're a seasoned street photographer or just starting out, these would be the 10 tips that I would share with a younger me starting out in this compelling genre of photography.
1. Wear Comfortable clothes: Dress inconspicuously and avoid drawing attention to yourself with flashy clothing or gear.
Librarian shoes are the order of the day. If you are in the zone, you can and will easily walk upto 10 miles on a photowalk. Coupled with a number of refreshment stops, the last thing you need to navigate are blisters or cramp.
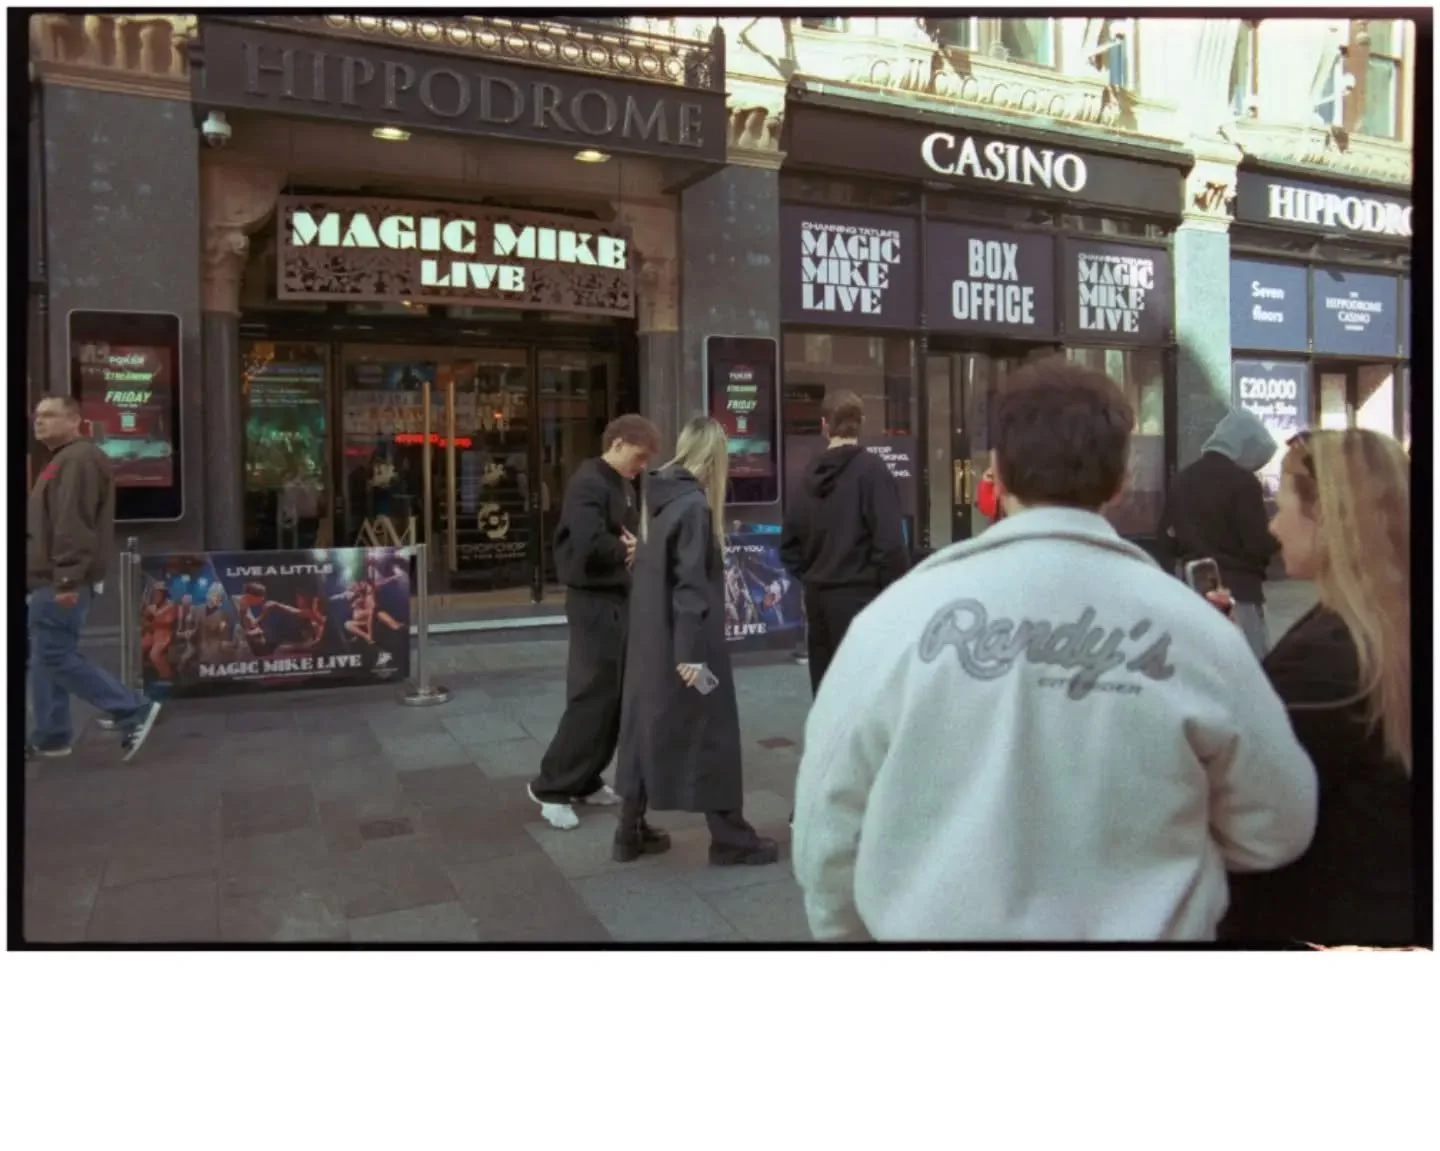
Regarding clothes, it's not about looking good, more simply put, ‘blend in’ with comfortable clothes. Wear a plain or bland coloured coat. Wearing a bright yellow jacket, that’s as luminous as a flashlight, isn’t for street photography. Wear a light rainproof jacket, where if it rains you keep dry, but when the sun comes out, you can stuff it in your camera bag.
By blending in, you'll be more likely to go unnoticed by your subjects, allowing you to capture authentic moments without disrupting the scene.


2. Use a Prime Lens: Consider using a prime lens with a wide aperture, such as a 35mm or 50mm f/1.8.
I have never used a zoom lens for street photography, I prefer using a prime lens. There are a number of reasons for this choice, 1) You frame a scene by using your feet (walking nearer or farther away). 2) The framing is more organic, using a prime lens, you can get a decent priced ‘budget’ 50mm with f1.8 aperture, to allow you to be more creative with framing to isolate your subject or be creative with environmental portraits. 3) Using zoom lens is lazy.

This type of lens allows for discreet shooting and beautiful background blur, enabling you to focus on your subject while blurring out distractions.
3. Zone Focusing: Familiarize yourself with the technique of zone focusing. This involves setting your camera to a small aperture (e.g., f/8) and estimating the focus distance. Zone focusing allows for quicker shooting, as you don't need to rely on autofocus. With practice, you'll become adept at capturing subjects in focus with ease.
I shoot both film and digital. A have a selection of digital cameras: my Sony A7iii is superb, the auto focus literally never misses a beat (whilst this is fantastic when I am at a special event or tired), it’s a pretty sterile shooting setup and takes away from the excitement of ‘Capturing the moment’.
So when I use my Leica M10 (or Leica M6 film camera) its zone focusing all the way. This effectively turns your camera into a point and shoot camera, allowing you to focus on the framing and spotting a scene. With a traditional manual lens, the focus fall off is lovely, providing some striking isolated images.
This technique reduces the time it takes to capture a shot when the moment arises. By having your focus pre-set, you can react quickly and seize the moment without fumbling with autofocus.
4. Shoot from the Hip: Experiment with shooting from waist-level to maintain a lower profile and capture scenes from a unique perspective.
This commandment is an easy one to incorporate and is a quick win, with great results. I wish I was told this, when I first started. If you are stuck in a rut or feeling a little nervous at the start of a photowalk, ‘shooting from the hip’ can give a different perspective to the mundane, but also allow you to get really close, for an intimate street portrait.

This technique adds a sense of dynamism and spontaneity to your photos, resulting in more engaging and authentic street shots.
5. Fishing vs Hunting: Street photography requires patience and observation. Instead of rushing from one location to another, take the time to observe your surroundings. Be aware of the interactions between people and anticipate interesting moments.
This is a point of contrast, that doesn’t derive a right or wrong answer, it's all down to personal preference.
‘Fishing’ is where you find a scene (say a street corner or a landmark) and you wait for an interesting subject to enter the scene. Reading some of the street photographer masters, you hear instances where they may have to hunker down for anything from 30 minutes to an hour, for the interest to arrive. In my mind, this is err’ing nearer to staged photography.
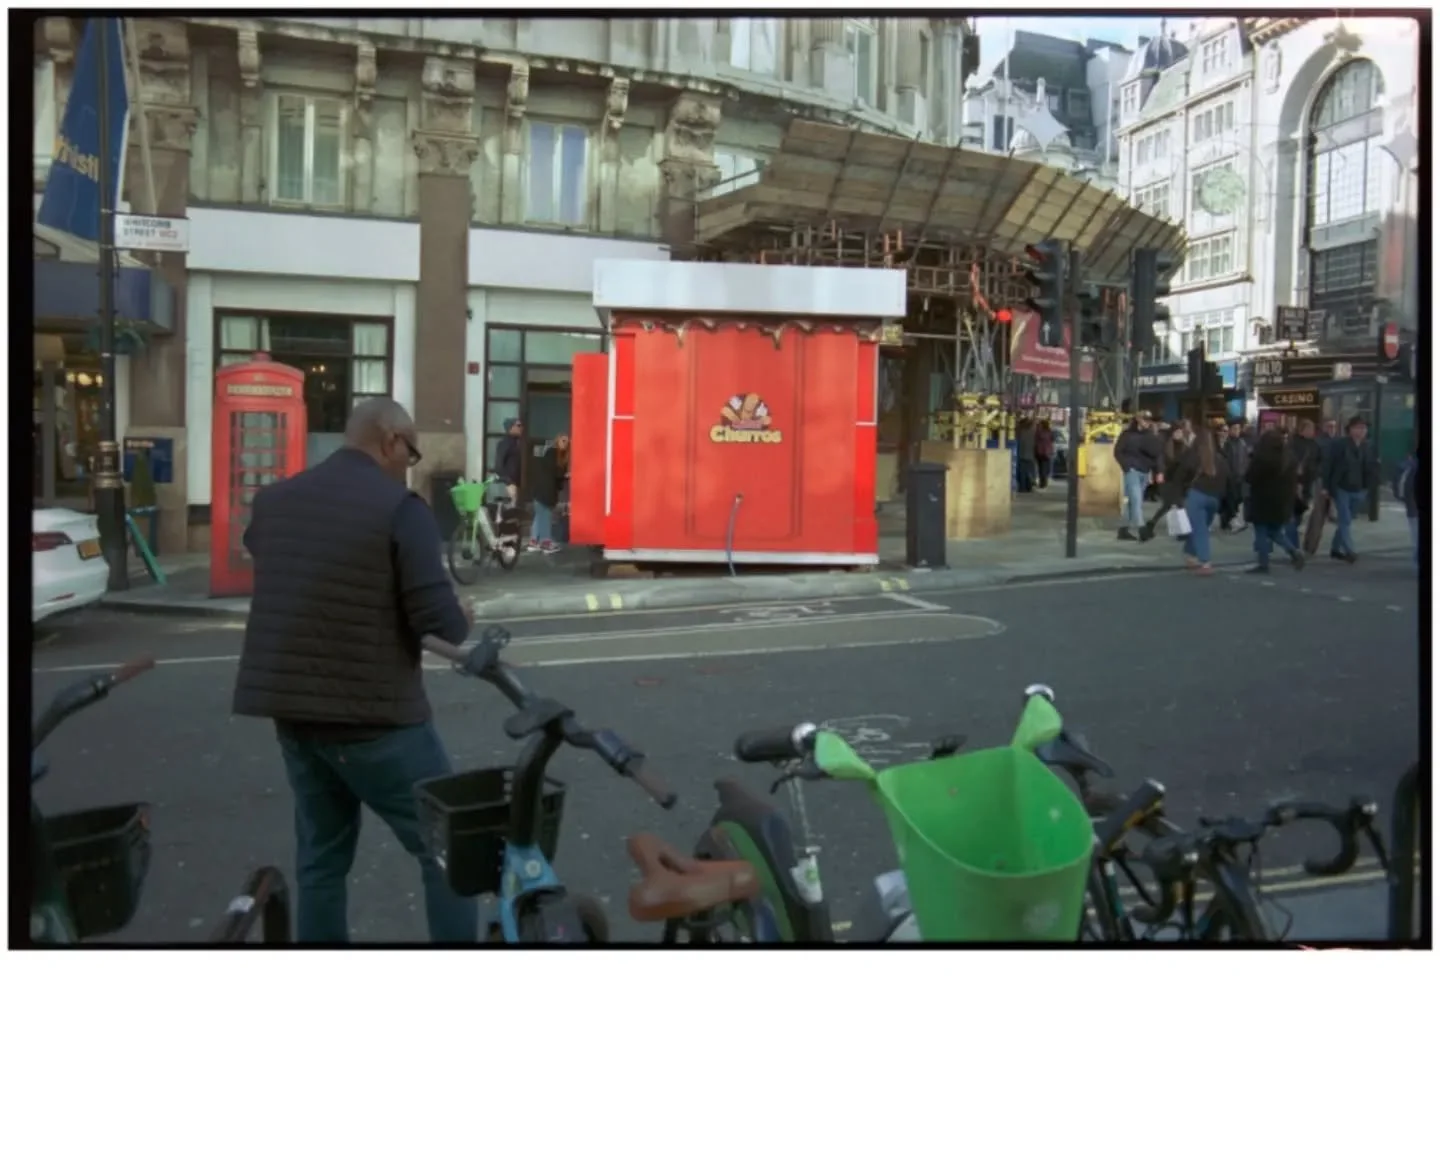
The converse is to ‘hunt’. This is where you are mobile and arrive at a scene and subject of interest, whilst on the move. An example of this is my approach to street photography in Brighton. My photo walks comprise of a set route, that I may lap 4/5 times, and subjects of interest differ during the course of the day.
My preference is to ‘hunt’ as I find the challenge that bit more challenging and the results that more rewarding. Also, my style of street with a prime lens (framing with my feet), doesn’t bode well for fishing.
Try both and see which one suits your style better.
Waiting for the right moment to unfold naturally will yield more captivating photographs.
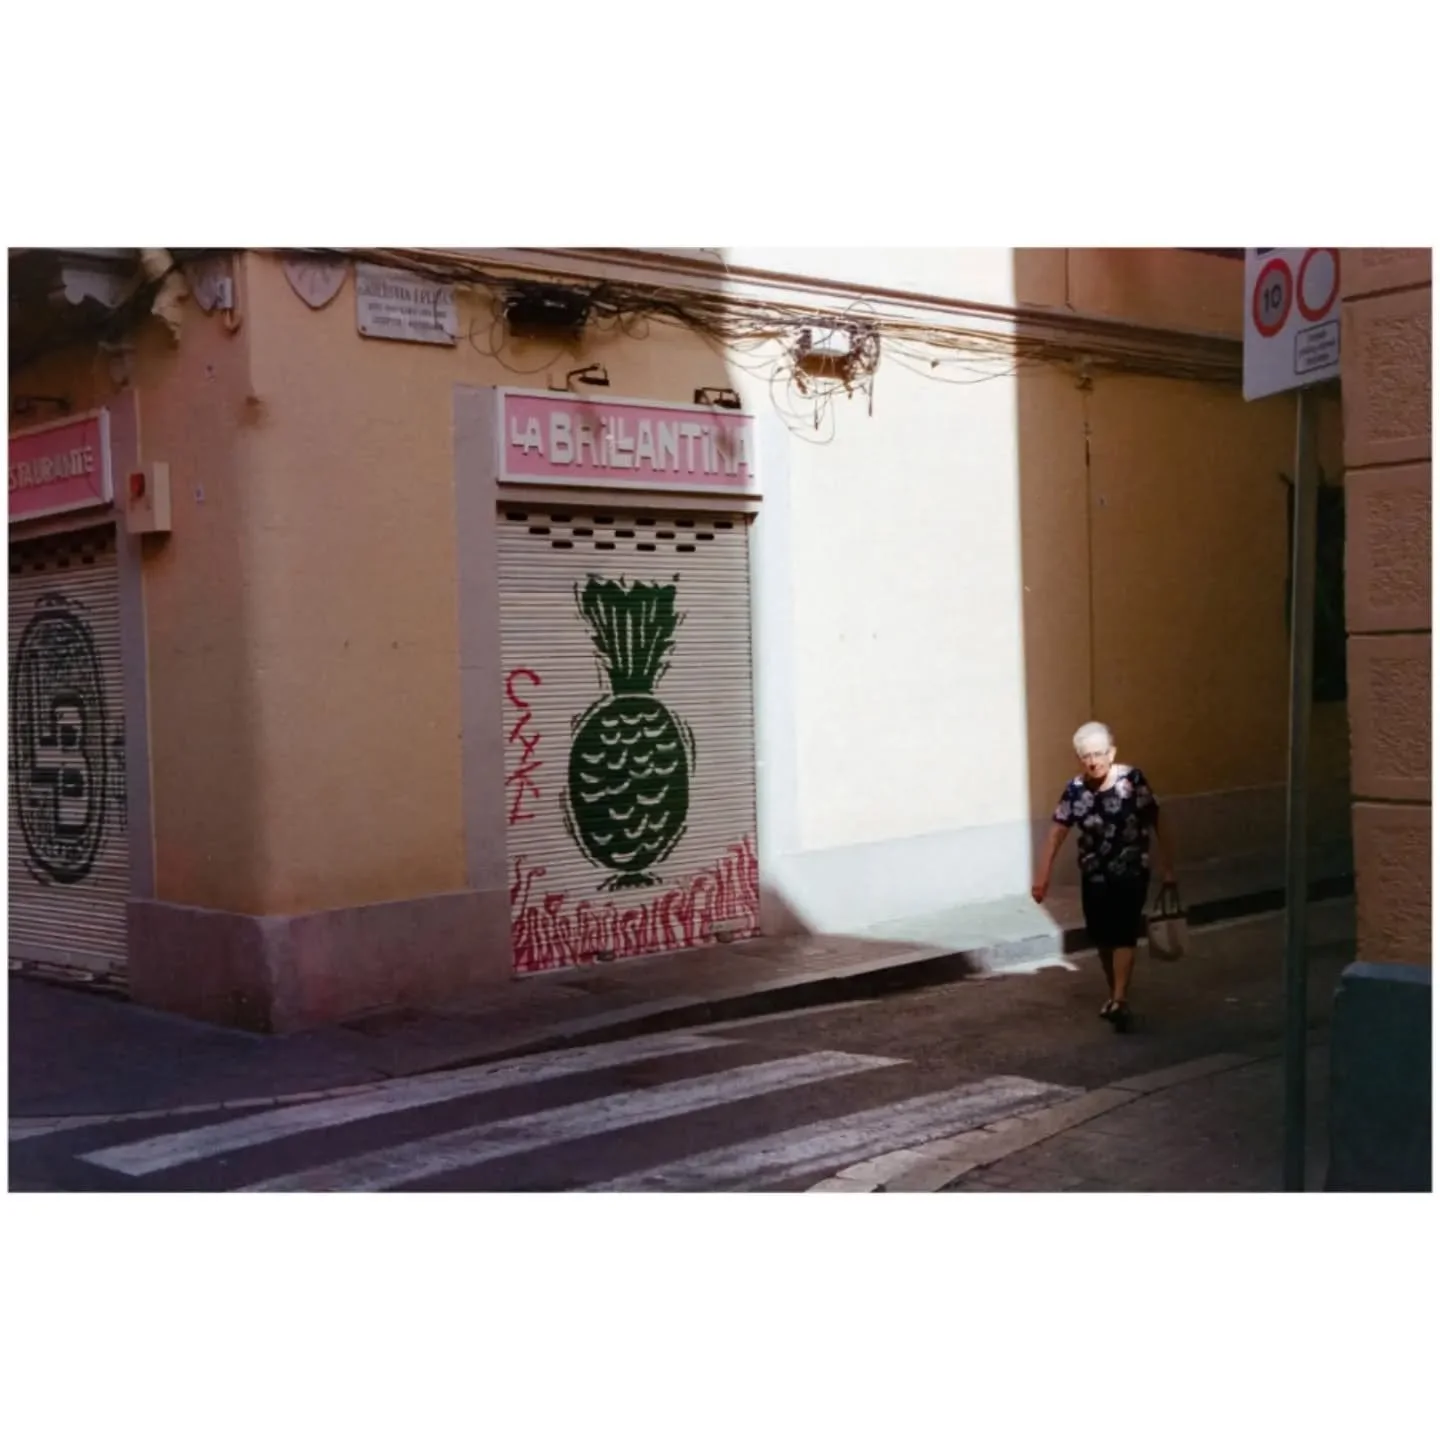
6. Be Aware of Lighting: Lighting plays a crucial role in street photography. Pay attention to the direction and quality of light, as it can enhance the mood and atmosphere of your shots.
We sometimes forget that photography is the capture of light. Beautiful pockets of light and silhouettes, can turn a bland scene into a sparkling black and white image.
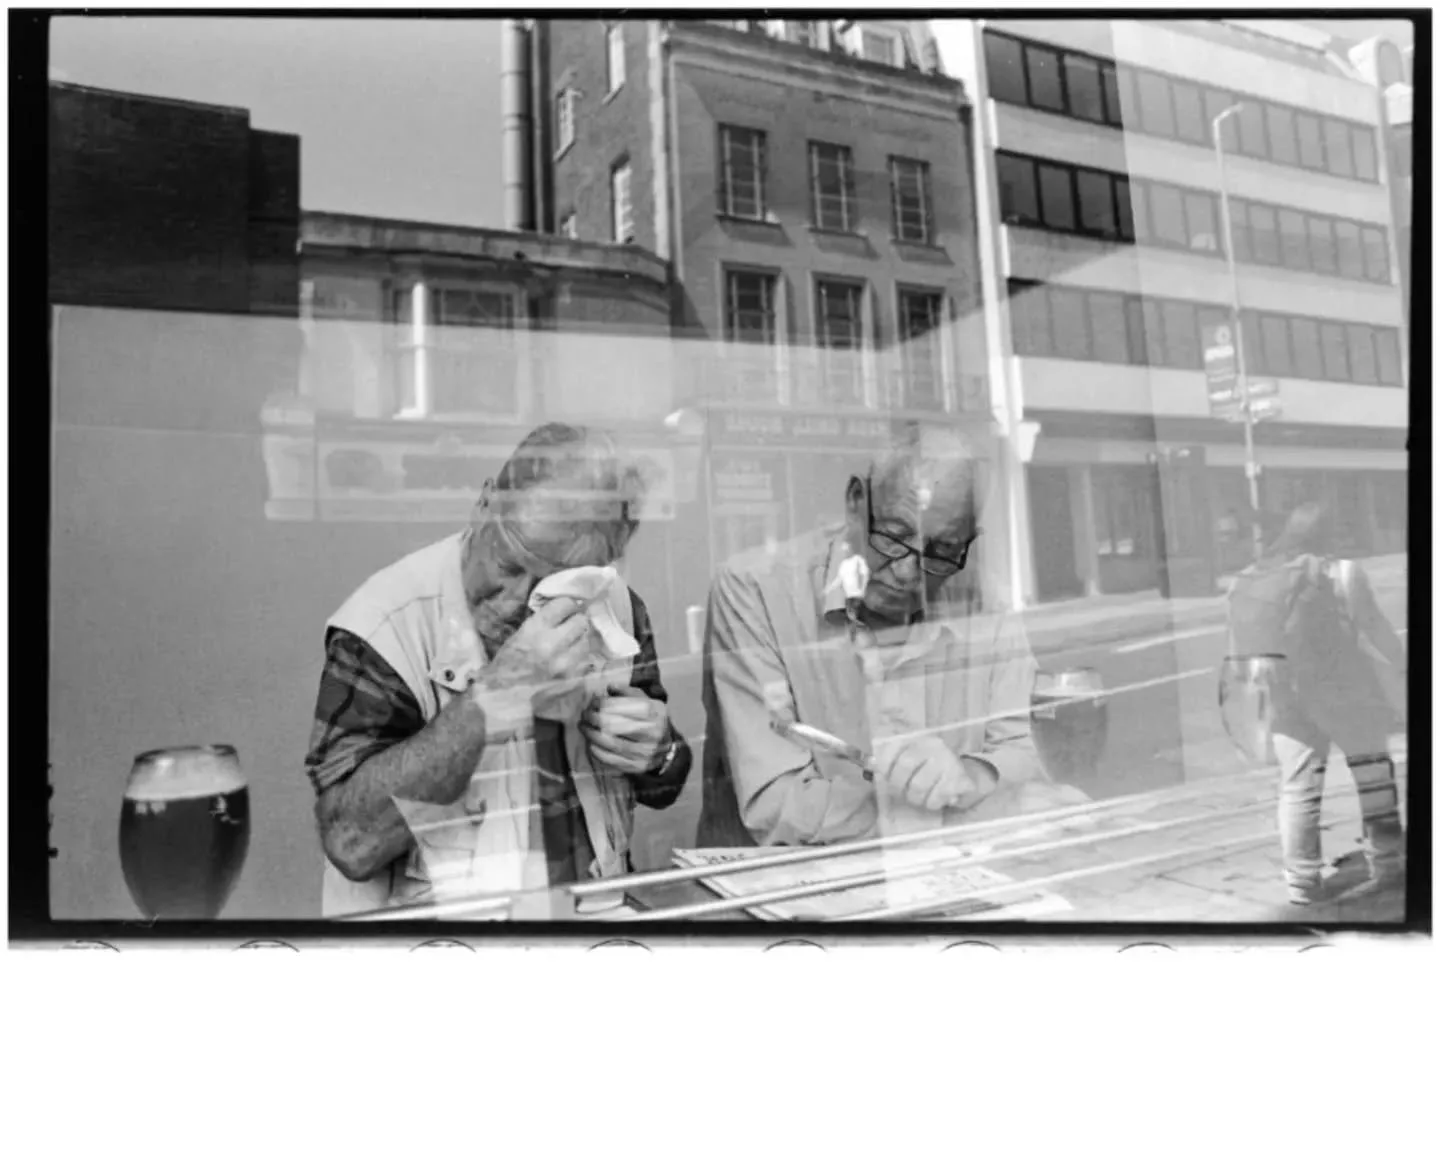
Experiment with shadows, reflections, and backlighting to add depth and drama to your candid captures.
7. Silent Mode: If your camera has a silent shooting mode, make use of it.
I have a Pentax 67 medium format film camera. It’s a renowned studio film portrait camera, that has a shutter sound, akin to a bullwhip:
It’s not really that suitable for candid street photography, but the stunning images it generates leaves me conflicted in its use.
Using a camera with a muffled shutter, allows you to get really close to your subject and get some candid / intimate street scenes.
The absence of shutter noise minimizes the chances of drawing unnecessary attention to yourself, enabling you to capture candid moments more discreetly.
9. Shoot in Burst Mode: When capturing fleeting moments, such as a person's expression or a quick action, utilize burst mode.
Whilst that can be deemed a little scatter gun or ‘pray and spray’, it sometimes always you to nail a street scene that is more action based in nature.
This setting allows you to capture a series of shots in quick succession, increasing your chances of getting the perfect candid shot. Later, you can review your shots and choose the one that best captures the decisive moment.
8. Travel light: The bear necessities.
Whilst we may have a significant collection of camera gear at home, we do not have to take it with us every time we go out.
I regularly see photographers looking like Sherpa’s going up the Andes on an expedition. Not only is it a complete faff changing between the gear all day, it also removes any form of structure to the day and is so far removed from relaxing and enjoying yourself.
Travel light and enjoy.
9. Shoot in Burst Mode: When capturing fleeting moments, such as a person's expression or a quick action, utilize burst mode.

Whilst that can be deemed a little scatter gun or ‘pray and spray’, it sometimes always you to nail a street scene that is more action based in nature.
This setting allows you to capture a series of shots in quick succession, increasing your chances of getting the perfect candid shot. Later, you can review your shots and choose the one that best captures the decisive moment.
10. Most of your photographs will be rubbish: Street photography is about seeing the peculiar in the mundane.

I read somewhere that some of the masters are happy if they capture 5/10 images a year.
I generally have a lower threshold to what my best work is, so try to get 5-10 keepers, per photowalk.
Street photography involves photographing people in public spaces. It's essential to respect people's privacy and personal space. If someone objects to being photographed, be polite and considerate, and respect their wishes. Always prioritize the well-being and comfort of your subjects.
Remember, capturing candid moments in street photography is a blend of technical skill, patience, and a keen eye for interesting moments in everyday life. These 10 tips will help you refine your approach and create compelling visuals that capture the true spirit of the streets. So grab your camera, hit the streets, and start hunting for those captivating candid moments!
Until next time, keep snapping.
Share the wealth - Film Photography.
Of the many hobbies and leisure activities that I have had over the years, the two that have stood out as having an awesome community, where knowledge, encouragement and help has been in abundance is the motorbike community and film photography community.

Of the many hobbies and leisure activities that I have had over the years, the two that have stood out as having an awesome community, where knowledge, encouragement and help has been in abundance is the motorbike community and film photography community.
I had my fun getting my full bike license at 42 years old (yes a midlife crisis) and rode for 11 months, but after a very lucky escape from a potentially nasty accident, I decided to retire my leathers and continue on a more sedate basis.
The film industry shares many similar approaches to the biking community. When using my film cameras whilst out on photo walks, I have had complete strangers ask me what I’m using? (Normally when I have the Pentax 67 around my neck), or isn’t that cute (when I have the TLR).
It’s the complete opposite when you generally get digital camera snobbery (read all the gear no idea).
The same goes for asking film related questions on Twitter or Instagram, followers or even complete strangers, are happy to share the wealth. I love it. It's what makes the community thrive.
What I have enjoyed about film and the benefits of it, is having one eye of the traditionalist approaches, call it the scientific and one eye on the creative / pioneers that contest the perceived expected norm.
This series aims to share guides and tricks that I have found on my quest to simplify and establish a consistent workflow using and shooting with film.
I don’t aim to plagiarise or steal the authors findings, rather share and credit them.
First up is the groundbreaking blog post by Johnny Patience entitled ‘The Zone System is Dead’.
This is quite simply essential reading deconstructing the longstanding authoritative Zone System by Ansel Adams.
I think this is relevant for film photography in general, but all the more pertaining to street photography. Read in conjunction with Johnny’s other essential blogpost ‘Metering for film’ it demystifies the process of exposing and developing for film, based on the latitude and density of the negative.
I have been shooting at half box speed (iso 400 film at iso 200 in camera), for a couple of years and favour the look and density of the negative. This weekend, I tried developing the same roll at 1 stop over (iso 400 film at 800).
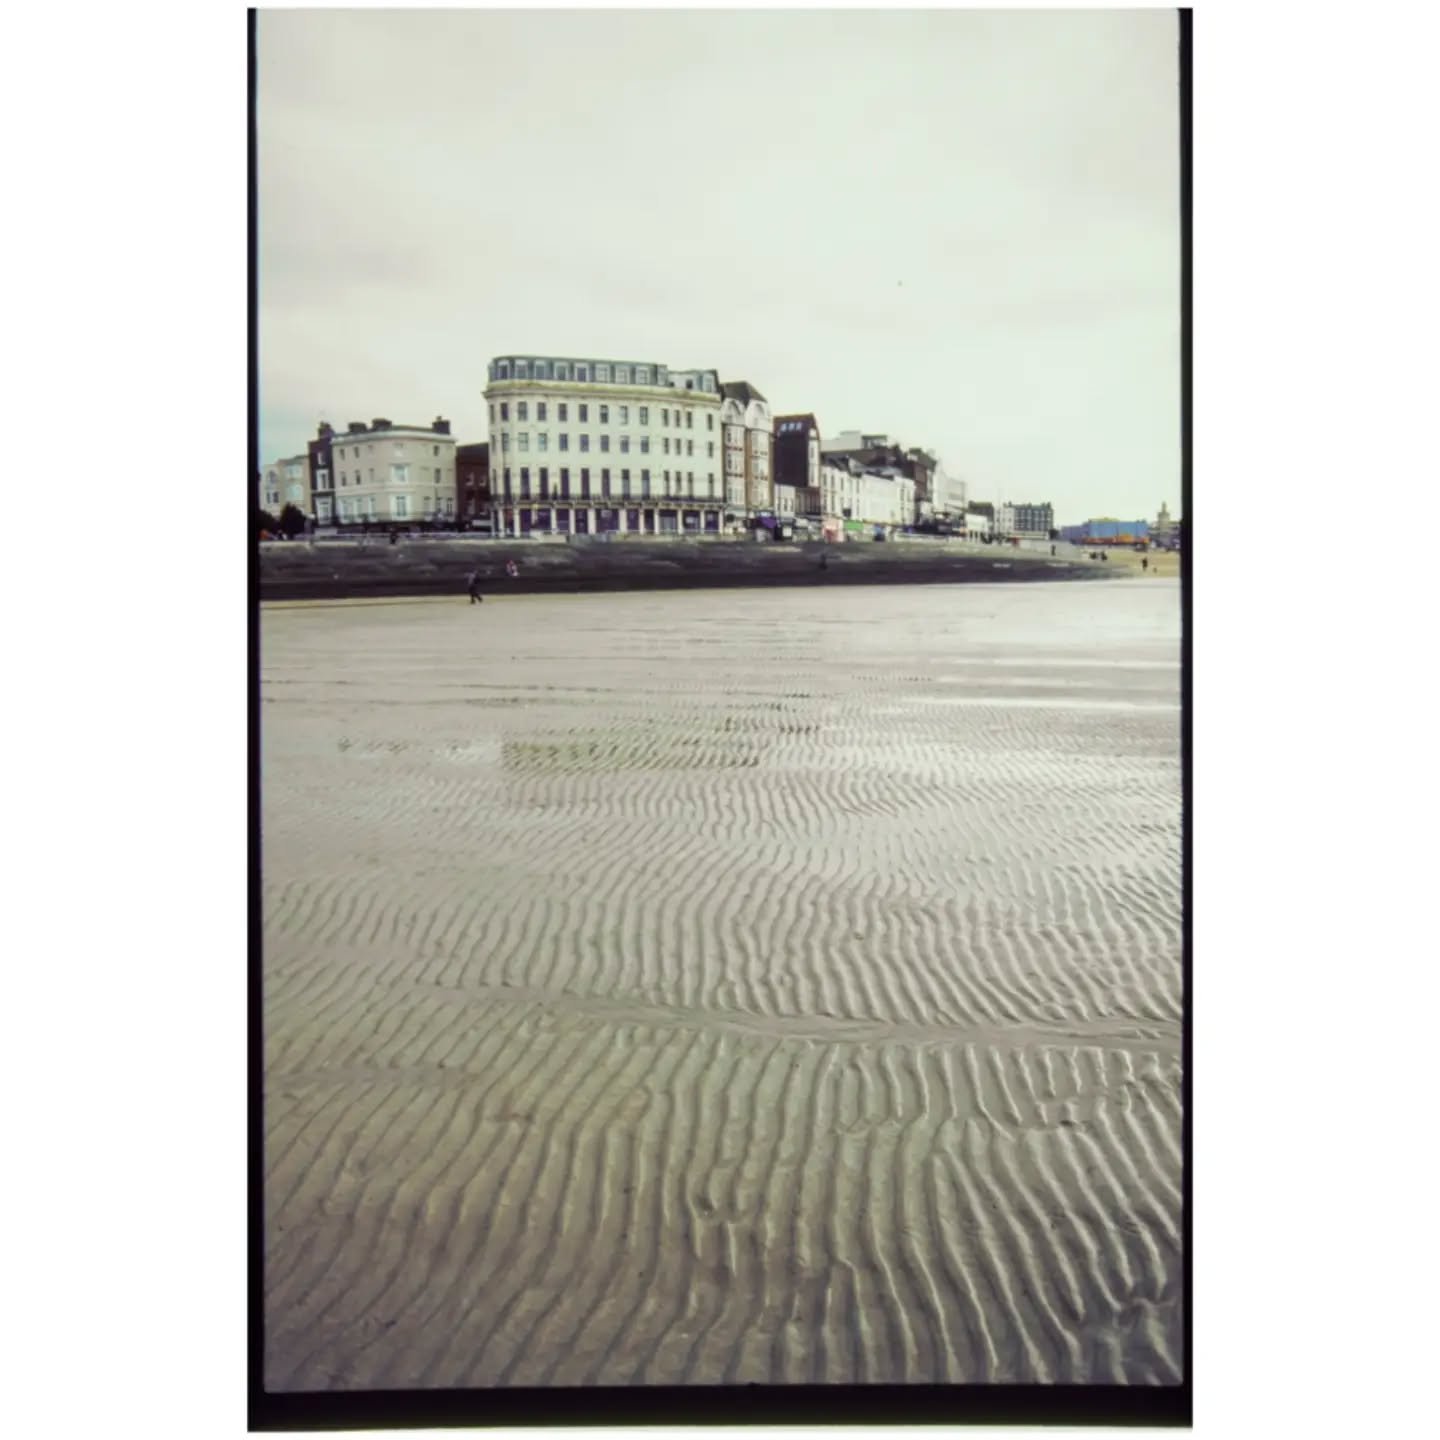
See a couple of examples of the film shot at half boxspeed (iso 400 film speed shot at iso 200 in camera), which is then overdeveloped by one stop at iso 800 development times:


My initial thoughts are you have to pull the whites and highlights to the left in Lightroom, to tweak the highlights, but the density of the negative and the blacks is lovely. I also find there is less tinkering in general.
Hopefully this will help share the knowledge, but definitely head over to Johnny’s blog and read the above two posts!!
until next time, keep snapping.
A selection of the images within this article are available for sale on the Website or Etsy Store, if you would like to enquire about something else, please click the email icon at the foot of this page.
Tinkerman
I originally shifted to film photography a couple of years ago, as I got bored, no, more frustrated by the constant tinkering with editing photos in lightroom.
(Read polishing a turd).
I originally shifted to film photography a couple of years ago, as I got bored, no, more frustrated by the constant tinkering with editing photos in lightroom.
(Read polishing a turd).
It was opportune timing. It slowed my thought processes down, eliminated chimping and was a great educational piece, as I developed and scanned all my images at home.
It gave me a new found respect for the masters of street photography, who use film, especially the likes of Garry Winogrand or Vivian Maier, who had thousands of undeveloped film rolls at the time of their deaths.
That said there were instances, were I was missing some photos, either due to the lack of burst mode, or the thunderclap of the Pentax 67 shutter, which stopped me getting that bit closer.
So I decided to step back into digital. A birthday gift in June, afforded me with a new Ricoh GRii camera, what an exceptional piece of tech, designed with street photography in mind.

The idea was to get a series of images, that I could edit (quickly), not tinker with, and could have a uniformed theme with colour.
I originally tried film emulation lightroom presets, but I found the edits………….
…..just too much.
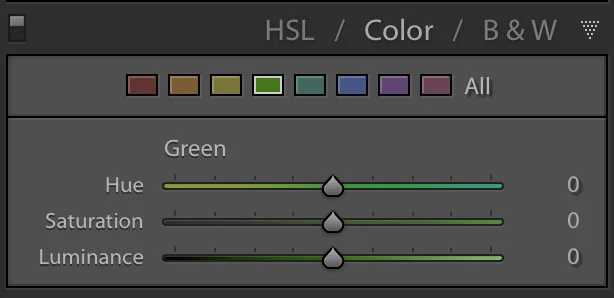
Thankfully, there are many influencers out there, happy to share their knowledge. I stumbled across this excellent post by Sean Tucker on YouTube, explaining the Virtues of HSL (Hue, Saturation and Luminance) when editing colour. The major benefits of this method are:
1) it's a simplified workflow for uniformed output.
2) it's quick.
3) the methodology is the same in lightroom, a mobile photo app (polarr on Android or darkroom on iPhone) or other photo editing software.
This technique / workflow works really well, allowing very subtle edits, that keep colours natural and not over processed, boosting a natural warmth to the images.

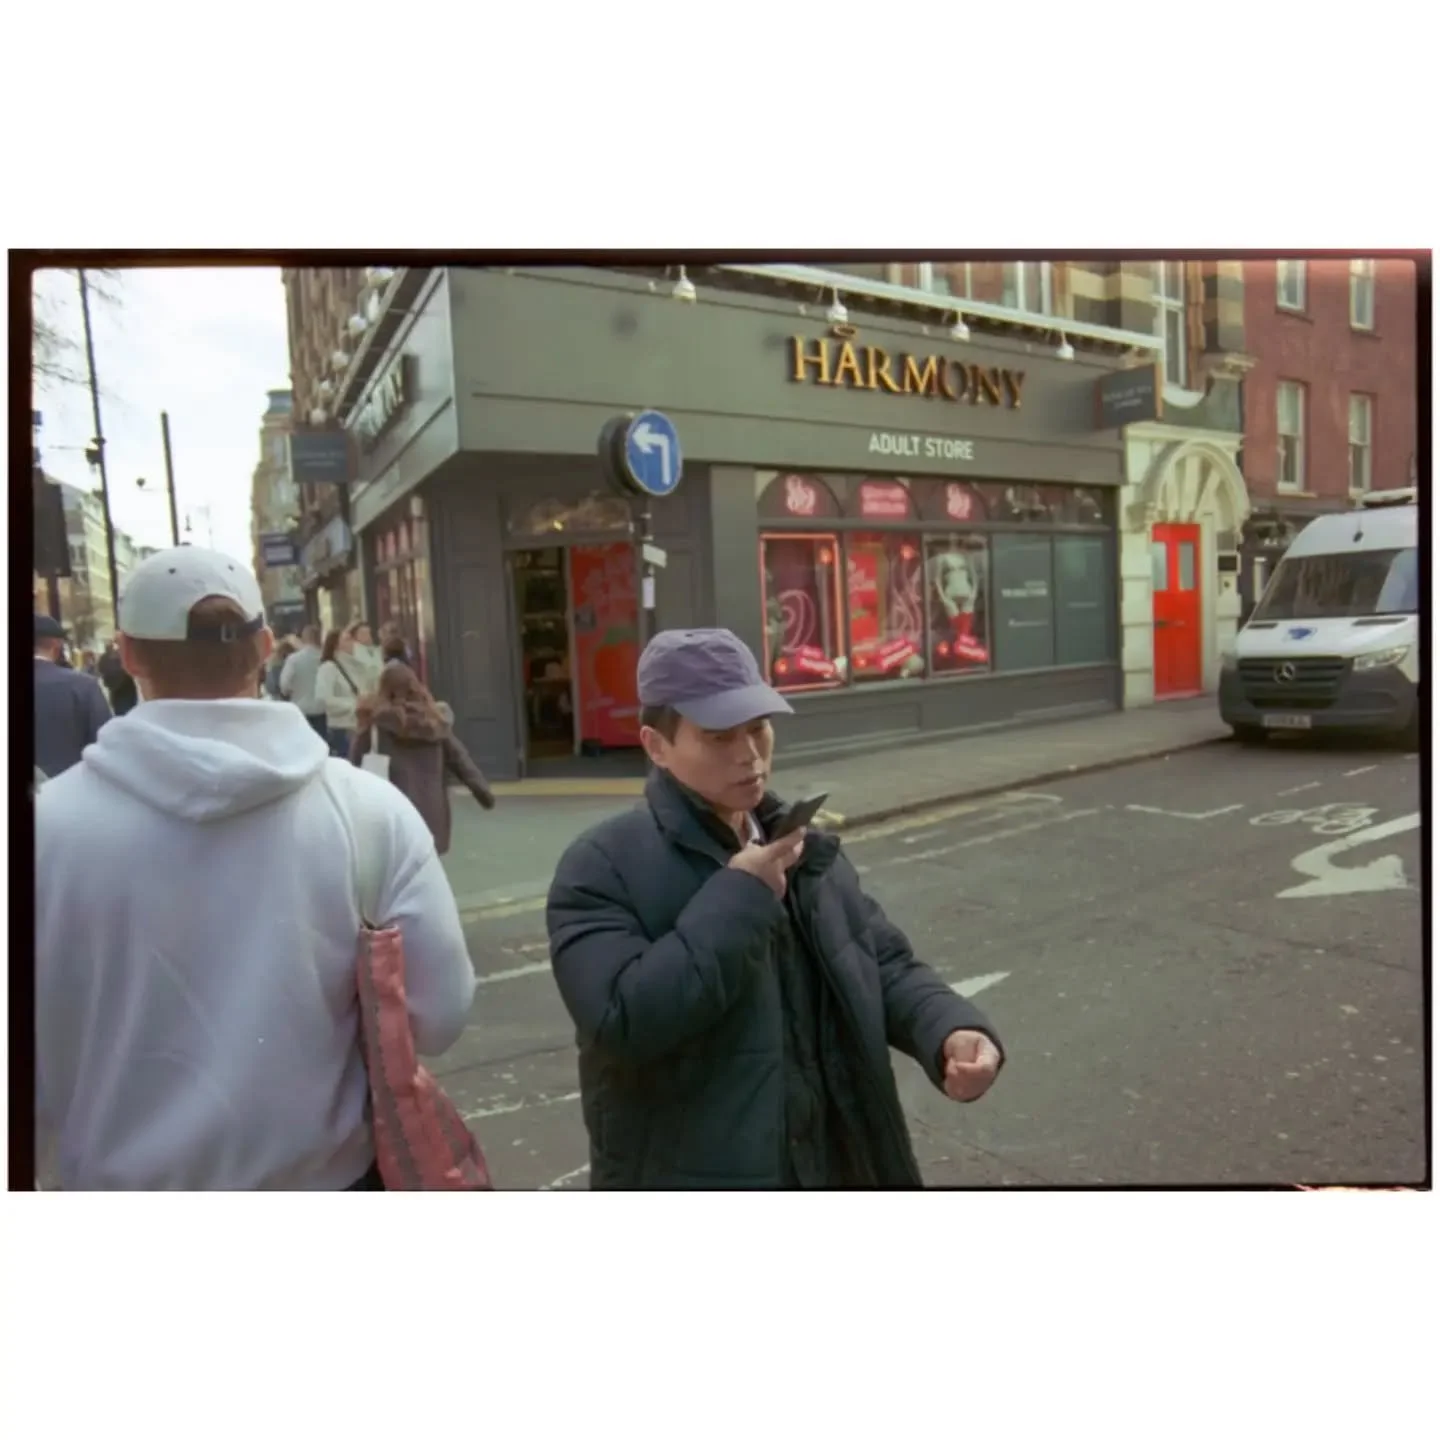
This image of the shop owner in Brighton, taken on the GRii and processed in lightroom.
I have a basic HSL preset saved with saturation and Luminance tweaks. Following the advice on Sean's video, these suppress the blues (remove the coldness from the image) and boost the warm tones.


I then add a global contrast adjustment with a medium or strong tone curve.

Next I click and drag the histogram to tweak overall exposure on the image.
Finally, I either select 'as shot' white balance or boost the temperature to warm up the tones.
All these edits a completed in a couple of minutes.
This guide is for lightroom, but as you will see with the Sean Tucker YouTube video, these edits are just as easily completed on a smartphone.
Give it a try.
Yes please, keep me posted when there’s a new blog
Instagram - Film